How Can I Flip My Own Furniture?
Are you curious about flipping furniture? Do you wonder if you can do it? Maybe you are looking for a new hobby? Let me tell you, you can! I began this journey quite by accident. I left my job due to the overwhelming demands and stress that it created, in addition to the fact that I was caring for a family member’s kiddo’s and going through a divorce. I needed a distraction.
As I was reorganizing one day, I had this big dresser that no one used or wanted anymore. My boys had long moved out, and it was just taking up unwanted space. So, I decided I would repurpose it. Guess what I did? I cut it in half! I don’t even think I have a picture of it or even what it turned into because I wasn’t planning this to “be a thing.” It looked something like this….

I cut it between the top two drawers and the bottom. I made the top into a vanity by adding legs and a mirror, and I put a new top on the bottom for a smaller dresser. I painted the vanity white, added my personal artwork and the dresser was painted black. I used the vanity for myself, and the dresser was used in one of the kiddo’s rooms. Let me tell you, in retrospect, they were horribly done. But it created a spark in me that I didn’t know I needed. I found myself seeking out other similar projects. The first piece I sold was an old round table and chairs that I found in my neighborhood for free. I flipped it for $400! One thing led to another, and here I am today! I have learned a ton and met some great friends along the way.
So, where do you start? Start small, find a free side table or something inexpensive. Experiment, have fun and enjoy the process. It doesn’t have to be perfect. There is something very rewarding in making the old new again and seeing a customer love what you have created. It doesn’t have to be a business or for anyone but you!
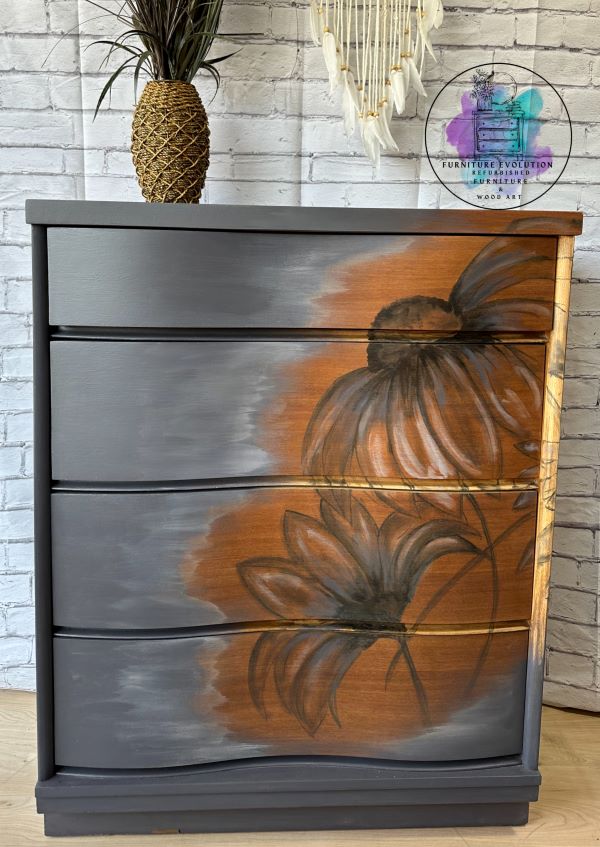
I have come a long way in my furniture-flipping process. My first pieces were not great, and I learn something new all the time.
Where do you find furniture to flip?
Best places to find furniture? I peruse Facebook Marketplace. There are a ton of items for free or very cheap. So many people just want to get rid of items. It is easier to advertise them for free than to load them up and get them to a thrift store. I also frequent my local thrift stores. Sometimes, items are priced higher than I like, but I return to keep an eye on things I would like to get to watch prices drop. I have never paid more than $100 for anything. In fact, I rarely pay more than $50. At this point, I have people I know that will reach out, with furniture they no longer want. The resources are fairly easy to find!
I have a project idea, now what?
Alright, you have your project and don’t know where to begin. Check out Pinterest, follow other furniture flippers, YouTube for inspiration or ideas. Maybe you already know what you want to do, and what color you want to paint your piece. There are several steps that are key to your success:
- Clean and Prep
- Paint/Stain
- Protect
Those are the basics. Let’s start with Cleaning.
Cleaning and Prepping
I recommend using a degreasing cleaner. I use GreenEz or TSP, but also dish soap makes a great degreaser (Dawn is the best). Begin by vacuuming out the drawers if it is a dresser. Be sure to get all the cobwebs and dust. Wipe down the inside, sides, underneath, and top of your piece. I like GreenEz because it is an all-natural product.

After your project is clean, it is time to prepare for paint. There are several types of paint out there, and I will cover that in a separate blog. Let’s say you start with something from your local hardware store. You will need to prime your piece with a stain-eliminating primer if you are painting over wood. Otherwise, a light “scuff sanding” will work (320 grit). This will help the paint adhere to the surface. After you sand it, be sure to wipe it down to remove the dust.
Painting/Staining
Now the fun begins! Use a fine bristle paintbrush. I prefer short, angled bristle brushes. There are several on the market. A higher-quality brush is best. I use the Cling On brushes from Wise Owl. Sherwin Williams also carries a nice brush made by Purdy. It is best to apply thin layers. If it is too thick, you will get drips, and they are hard to get rid of if you don’t notice them right away. So, do long, thin strokes of paint with your brush. Allow your paint to dry according to the manufacturer instructions.
After you finish painting, you may want to seal your piece with a topcoat of your choice. They come in flat, matte, satin, semi-gloss, and gloss finishes. However, a lot of paint today comes with a topcoat already built into the paint. Make sure you understand your product and what you have purchased.
If you have chosen to stain your project, you will need to seal it with a protective coat. Again, be sure to read the manufacturer’s instructions for staining and sealing your project. I do not recommend buying a stain with a topcoat built in. They are hard to work with!
This is a very brief breakdown of how you can learn to flip furniture. Feel free to reach out with any questions or for tips and tricks at jenn@furnitureevolution.co or through my Facebook page Furniture Evolution.